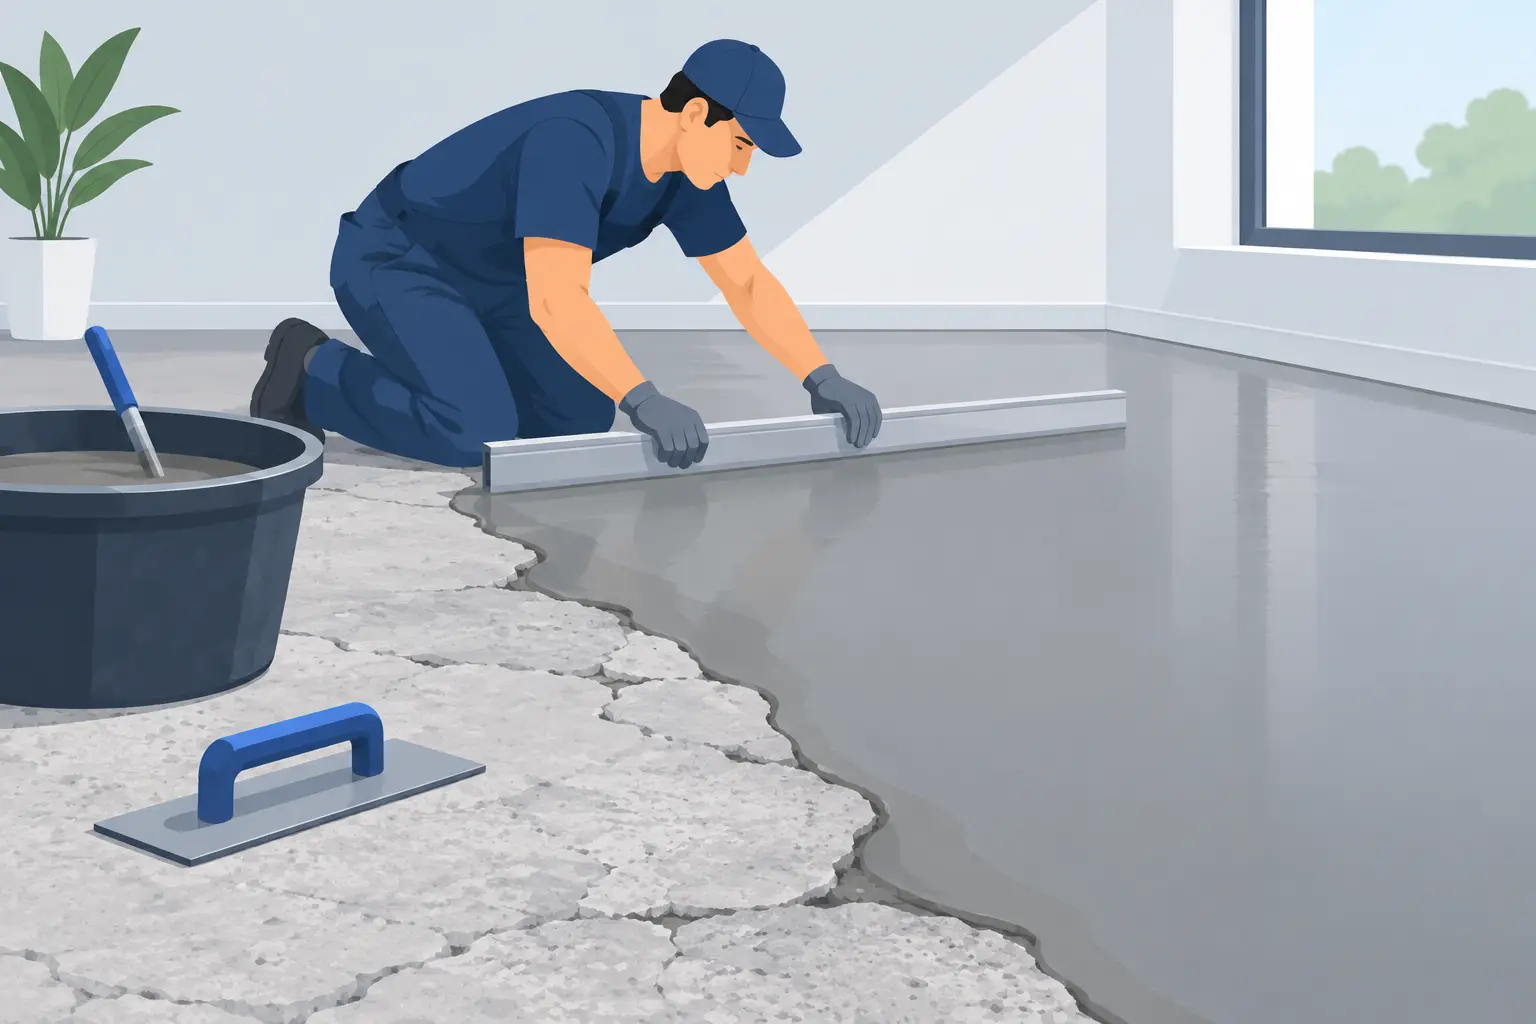
A garage floor can look fine until you roll a tool chest across it, set up shelving, or watch water collect in the same low spot after every rain. Knowing how to level uneven concrete starts with identifying whether the slab has a few surface imperfections or a larger movement problem. The right repair can create a smooth, durable surface ready for daily use or a decorative epoxy coating. The wrong one can crack, debond, or leave the floor just as uneven as before.
Start by Finding Out Why the Concrete Is Uneven
Concrete does not become uneven for one single reason. In many garages, basements, workshops, and commercial spaces, the issue is a combination of original finishing, settlement, moisture, age, and hard use. A floor may have high ridges from a poor pour, shallow birdbaths where water sits, low areas around drains, or cracks caused by movement below the slab.
Before any leveling material goes down, the floor needs to be measured. A long straightedge, laser level, or floor-mapping process shows where the true highs and lows are. This matters because a floor can be generally level from one wall to another but still have local dips that affect carts, equipment, flooring, or a coating installation. It can also slope intentionally toward a drain, which should not be leveled away without a plan for water management.
A careful inspection should also look for loose concrete, oil contamination, moisture vapor, active cracks, and hollow-sounding areas. Those conditions affect how well a repair bonds. Leveling compound is not a substitute for fixing a failing slab.
How to Level Uneven Concrete: Match the Method to the Problem
There is no one-size-fits-all concrete leveling method. The best approach depends on how deep the low spots are, how large the area is, whether the slab is moving, and what finish will go on top.
Grind Down High Spots First
When concrete has isolated high areas, grinding is often the most dependable place to start. Heavy-duty diamond grinding equipment removes ridges, trowel marks, old coatings, and raised edges around repairs. It can flatten a floor without adding unnecessary material to the rest of the slab.
Grinding also creates the proper surface profile for many repair products and coating systems. This is especially important before epoxy. A coating needs a clean, mechanically prepared surface to bond correctly. Simply acid etching or applying material over smooth, dirty concrete does not provide the same long-term result.
Professional grinding should include HEPA dust collection. Concrete dust travels quickly through homes, retail spaces, and working facilities, and it is not something to leave settled on nearby surfaces. Containing dust keeps the work area cleaner and helps protect the repair from contamination.
Fill Shallow Low Areas With a Compatible Repair Material
After high spots are addressed, shallow low areas can be filled with a cement-based patch or polymer-modified repair material designed for concrete. The product must be rated for the intended depth and use. A patch that works for a thin skim coat may not hold up in a deeper depression or under vehicle traffic.
The concrete should be sound, clean, and properly profiled before patching. Weak surface paste, paint, oil, adhesive, and loose material need to be removed. If the patch is applied over contamination or poorly prepared concrete, it may look good at first but can release under traffic or under the stress of seasonal temperature changes.
For small repairs, the goal is often surface flattening rather than making every inch perfectly level. A floor for a workshop, garage, or storage area generally needs a stable, smooth plane. A floor receiving polished concrete, epoxy, or another decorative system may need tighter tolerances so the finished appearance stays consistent.
Use a Self-Leveling Underlayment for Broad, Shallow Dips
Self-leveling products can be effective when an interior slab has broad low areas and needs to be brought into a flatter plane. Despite the name, these materials still require skilled placement. They flow only as well as the preparation, primer, mixing, placement speed, and containment allow.
They are also not automatically the right answer for a garage or exterior slab. Some are intended only for interior applications, while others are not designed for moisture exposure, freeze-thaw conditions, vehicle traffic, or a direct-to-concrete coating system. Product selection has to match the environment and final use.
A professional installer will evaluate depth, moisture conditions, slab temperature, and the final finish before recommending a self-leveling material. That protects the investment and avoids building a floor system around a product that was never designed for the job.
Address Settlement Before Surface Leveling
If one section of the slab has dropped significantly, surface patching may only hide the issue temporarily. Settlement can be caused by poor soil compaction, water erosion, drainage problems, or voids beneath the concrete. Signs include major elevation changes, wide cracks, doors that no longer operate correctly, or separation between the slab and nearby walls.
In those cases, the slab may need lifting, stabilization, drainage correction, or structural evaluation before cosmetic leveling begins. Adding several inches of patch to a settling slab adds weight without solving the movement below it. A durable repair starts with a stable base.
Do Not Ignore Cracks, Joints, and Moisture
Cracks and control joints are normal features of many concrete slabs, but they need to be handled correctly. Static cracks can often be cleaned, filled, and prepared as part of the leveling process. Moving cracks and expansion joints are different. They may need to remain flexible or be honored through the finished floor rather than buried under rigid repair material.
Moisture is another factor that deserves real attention. Concrete can look dry on the surface while moisture vapor moves upward through the slab. That vapor can interfere with some patches, coatings, and adhesives. Basements, older slabs, spaces without a vapor barrier, and floors with drainage concerns are common trouble areas.
For epoxy flooring, moisture testing and the right moisture mitigation system can be the difference between a long-lasting finish and coating failure. No decorative flake, metallic, quartz, or solid-color system can make up for poor slab preparation beneath it.
When DIY Leveling Makes Sense – and When It Does Not
A homeowner can often handle a small, shallow low spot in a clean interior area using the right repair product and careful preparation. The project needs patience, accurate mixing, and enough time to remove coatings or contaminants before the patch goes down.
Professional help is usually the better call when the floor has widespread unevenness, substantial cracks, active moisture, heavy vehicle traffic, old coatings, or plans for epoxy. The same applies when a business cannot afford downtime or needs a floor that performs under rolling loads, retail traffic, equipment, or routine cleaning.
Prime Epoxy Coatings evaluates the concrete before recommending grinding, surface flattening, repair, moisture control, or a finished resinous system. That hands-on approach matters because the floor beneath the finish determines how the whole project performs.
A Level Floor Is Built From Preparation Up
The visible repair is only one part of leveling concrete. A successful floor requires accurate evaluation, mechanical preparation, compatible materials, and enough curing time before it sees traffic or receives a coating. Rushing the process may save a day up front, but it often leads to repairs that crack, lift, or telegraph through the final finish.
If uneven concrete is affecting drainage, safety, appearance, or plans for a new epoxy floor, start with a professional assessment and a free estimate. A properly prepared slab gives you a cleaner-looking space now and a stronger surface for the years of work ahead.
Leave a Reply